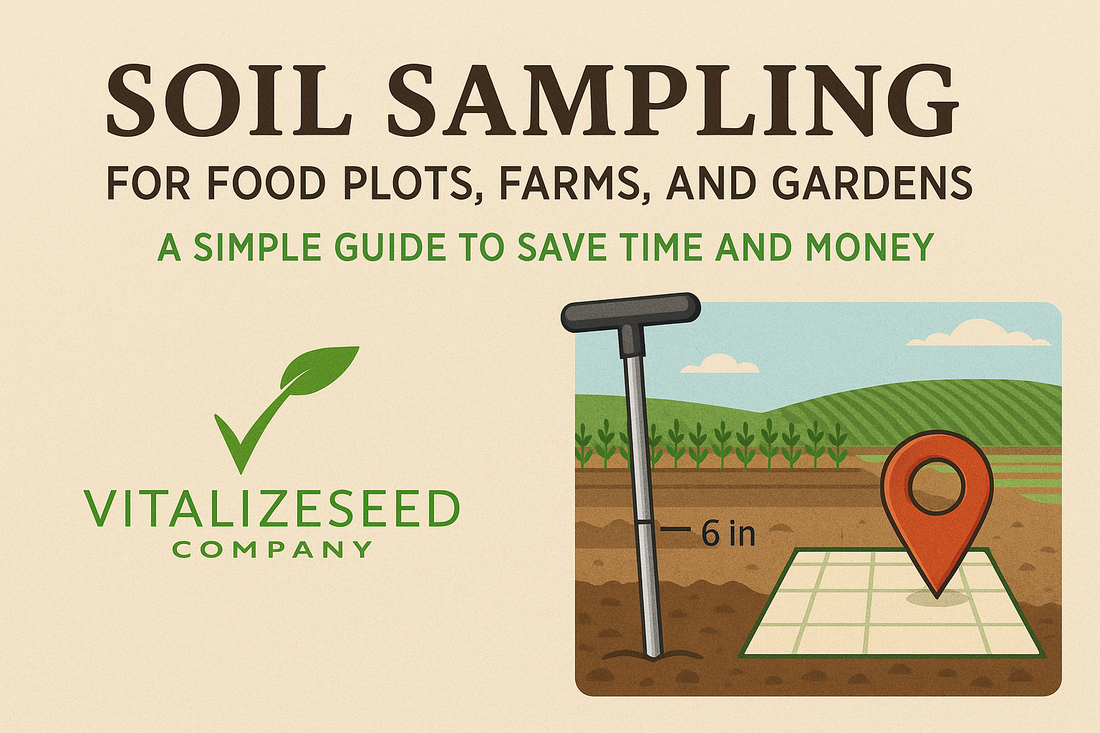
Soil Sampling for Food Plots, Farms, and Gardens: A Simple Guide to Save Time and Money
Share
Accurate soil sampling is the foundation of a successful food plot, garden, or farm. Whether you're working to improve soil biology, optimize fertility, or boost crop yield, a well-executed soil test ensures you're making data-driven decisions that save time, reduce input costs, and improve long-term soil health.
1. Sample at the Right Time
Sample in late fall or early spring, before planting begins. Be consistent with your yearly timing for comparable results and reliable trend tracking. Consistency is key if you want to make informed decisions from year to year.
2. Tools You'll Need
- Soil probe (highly recommended for consistency)
- Clean plastic bucket
- Sample bags (paper or Ziploc-style work well)
- Permanent marker – for labeling bags
- GPS device or smartphone app – I use ONX to mark coordinates
- Flags or T-posts – if GPS isn’t available, mark spots manually
3. Mark Your Probe at 6 Inches
Use tape or a marker to clearly mark your probe at 6 inches, the standard depth for sampling food plots, gardens, and farms. This ensures you're measuring from the active root zone (aerobic zone) where nutrients and microbial activity are most concentrated.
4. Use 1-Acre Grids (Max 3 Acres per Sample)
To improve accuracy:
- Divide large plots into 1-acre grids
- Never mix more than 3 acres into one composite sample
- If soils vary by type, slope, or land use, treat them as separate zones
5. Use GPS for Repeatable Accuracy
Pick well-distributed GPS coordinates throughout each grid (avoid clustering). At each coordinate:
- Pull 4 to 6 soil probes within a 5–10 ft. radius
- Combine them in a bucket to form your composite sample
Record GPS locations so you can return to the same spots every year—vital for tracking soil changes and adjusting your management accordingly.
6. Mix and Bag
- Thoroughly mix the composite sample in your bucket
- Place about 1 cup of soil in a labeled bag
7. Label and Document
Each sample should include:
- Sample name or ID – e.g., Big Garden
- Grid or zone number – e.g., Big Garden 1
- Date of sampling – e.g., 4/29/2025
- Planned crop – e.g., Nitro Boost, legume-focused cover crop
- Any additional notes – Add to the lab’s submittal sheet
Keeping a log of your sample locations, depths, and dates is critical for consistent monitoring and success over time.
8. Submit to a Reputable Lab
We recommend the Vitalize Seed + Ward Labs partnership, offering soil testing and readings that give you all the data you need to make the best decisions.
👉 Click here to order your Vitalize Soil Test
Quick Tip:
Repeat the same process each year using the same GPS coordinates and 6-inch depth. This builds a reliable picture of your soil’s health and allows you to fine-tune fertility strategies for long-term success.
Thank you for reading!
Albert
